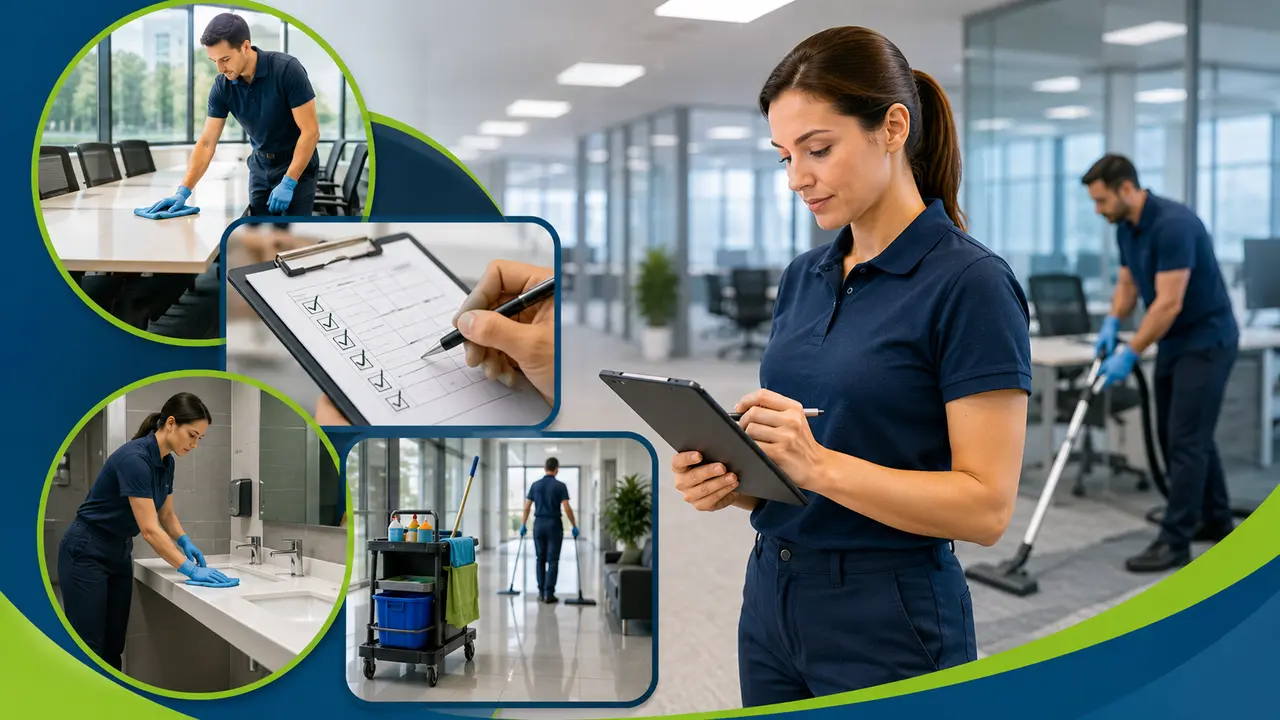
...

From Scrubbing to Sanitising: The Step-by-Step Process of Deep Cleaning Dental Clinics

HeaderBanner
Deep Cleaning Dental Clinics Maintaining Clean and Sterile Environments for Dental Procedures

Maintaining a clean and safe environment in dental clinics is of utmost importance. Dental clinics are places where patients come to seek oral health care, and it is crucial to provide them with a clean and hygienic environment. Deep cleaning of dental clinics not only ensures the safety and well-being of patients but also creates a positive impression and instils confidence in them. Deep cleaning of dental clinics has numerous benefits. Firstly, it helps prevent the spread of infections and diseases. Dental clinics are high-traffic areas where patients with various oral health conditions visit regularly. By deep cleaning the clinic, you can eliminate harmful bacteria, viruses, and other pathogens that may be present on surfaces, equipment, and instruments. This reduces the risk of cross-contamination and helps maintain a healthy environment for both patients and staff.

Secondly, deep-cleaning dental clinics help improve air quality. Dust, allergens, and other particles can accumulate on surfaces and in the air over time. Regular dusting and vacuuming can remove these particles, improving the air quality in the clinic. This is especially important for patients with respiratory conditions or allergies.

Lastly, deep-cleaning dental clinics promote a professional image. A clean and well-maintained clinic creates a positive impression on patients. It shows that the dental practice takes hygiene seriously and cares about the well-being of its patients. This can help build trust and loyalty among patients, leading to increased patient satisfaction and retention.

Step 1: Removing Clutter and Debris

Removing clutter and debris is an essential step in deep cleaning dental clinics. Clutter not only makes the clinic look untidy but also creates a breeding ground for bacteria and pests. It is important to keep the clinic organised and free from unnecessary items.

Start by decluttering countertops, shelves, and storage areas. Remove any items that are not necessary for daily operations or patient care. This includes old magazines, expired products, and broken equipment. Dispose of these items properly or consider donating them if they are still in usable condition.

Next, clean and organise storage areas. Use labelled containers or shelves to store supplies and equipment. This makes it easier to find what you need and prevents items from getting lost or misplaced. Regularly check and restock supplies to ensure that you have everything you need for patient care.

Step 2: Dusting and Vacuuming Surfaces

Dusting and vacuuming surfaces is an important step in deep cleaning dental clinics. Dust can accumulate on surfaces over time, making the clinic look dirty and unprofessional. Regular dusting helps maintain a clean and hygienic environment.

Start by dusting high surfaces such as shelves, cabinets, and light fixtures. Use a microfiber cloth or duster to remove dust from these areas. Pay attention to corners and hard-to-reach places where dust tends to accumulate.

Next, vacuum the floors and upholstery. Use a vacuum cleaner with a HEPA filter to effectively remove dust, allergens, and other particles from carpets, rugs, and upholstery. Vacuuming should be done regularly to prevent the buildup of dirt and debris.

Step 3: Disinfecting High-Touch Surfaces

Disinfecting high-touch surfaces is crucial in deep-cleaning dental clinics. High-touch surfaces include doorknobs, light switches, countertops, chairs, and other areas that are frequently touched by patients and staff. These surfaces can harbour harmful bacteria and viruses, making it essential to disinfect them regularly.

Start by cleaning the surfaces with soap and water to remove any visible dirt or grime. Then, use an EPA-approved disinfectant to kill germs and pathogens. Follow the instructions on the disinfectant label for proper use and contact time.

Pay special attention to areas that are frequently touched, such as waiting room chairs, reception desks, and dental chairs. These surfaces should be disinfected after each patient visit to minimise the risk of cross-contamination.

Step 4: Cleaning and Sanitising Dental Equipment

Cleaning and sanitising dental equipment is a critical step in deep cleaning dental clinics. Dental equipment comes into direct contact with patients’ mouths and can harbour harmful bacteria and viruses if not properly cleaned and sanitised.

Start by cleaning the equipment with soap and water to remove any visible debris or contaminants. Use a soft brush or cloth to scrub the surfaces, paying attention to hard-to-reach areas. Rinse the equipment thoroughly to remove any soap residue.

Next, sanitise the equipment using an appropriate disinfectant. Follow the manufacturer’s instructions for dilution and contact time. Make sure to use a disinfectant that is safe for use on dental equipment and effective against a wide range of pathogens. Regularly inspect the equipment for any signs of damage or wear. Replace any worn-out or damaged parts to ensure the equipment functions properly and does not pose a risk to patients.

Step 5: Sterilising Instruments and Tools

Sterilising instruments and tools is a crucial step in deep cleaning dental clinics. Dental instruments come into direct contact with the patient’s oral tissues and can transmit infections if not properly sterilised.

Start by cleaning the instruments with soap and water to remove any visible debris or contaminants. Use a brush or instrument cleaner to scrub the surfaces, paying attention to hard-to-reach areas. Rinse the instruments thoroughly to remove any soap residue.

Next, sterilise the instruments using an appropriate method. Autoclaving is the most common method of sterilisation in dental clinics. Follow the manufacturer’s instructions for proper loading, temperature, and time settings. Regularly inspect the instruments for any signs of damage or wear. Replace any worn-out or damaged instruments to ensure patient safety.

Step 6: Cleaning and Disinfecting Restrooms

Cleaning and disinfecting restrooms is an important step in deep cleaning dental clinics. Restrooms can harbour harmful bacteria and viruses if not properly cleaned and disinfected.

Start by cleaning the toilets, sinks, and countertops with a bathroom cleaner. Use a brush or sponge to scrub the surfaces, paying attention to hard-to-reach areas. Rinse the surfaces thoroughly to remove any cleaner residue.

Next, disinfect the surfaces using an appropriate disinfectant. Pay special attention to high-touch areas such as toilet handles, faucet handles, and doorknobs. These surfaces should be disinfected regularly to prevent the spread of germs. Regularly restock restroom supplies such as toilet paper, hand soap, and paper towels. Empty trash bins regularly and dispose of waste properly.

Step 7: Cleaning Floors and Walls

Cleaning floors and walls is an important step in deep cleaning dental clinics. Floors and walls can accumulate dirt, stains, and other contaminants over time. Start by sweeping or vacuuming the floors to remove any loose dirt or debris. Use a mop or floor scrubber to clean the floors with a suitable cleaner. Pay attention to corners and hard-to-reach areas where dirt tends to accumulate.

Next, clean the walls using a mild detergent or wall cleaner. Use a sponge or cloth to scrub the walls, paying attention to any stains or marks. Rinse the walls thoroughly to remove any cleaner residue. Regularly inspect the floors and walls for any signs of damage or wear. Repair any cracks or damage to ensure a safe and clean environment.

Step 8: Proper Waste Disposal

Proper waste disposal is crucial in deep cleaning dental clinics. Dental clinics generate various types of waste, including biological waste, sharp waste, and general waste. It is important to dispose of these wastes properly to prevent the spread of infections and protect the environment.

Start by segregating the different types of waste. Use colour-coded bins or bags to separate biological waste, sharp waste, and general waste. This helps ensure that each type of waste is disposed of correctly.

Next, follow local regulations and guidelines for waste disposal. Biological waste and sharp waste should be placed in designated containers and disposed of through a licensed medical waste disposal service. General waste should be placed in sealed bags and disposed of in regular trash bins. Regularly empty and clean the waste bins to prevent odours and the buildup of bacteria. Use appropriate personal protective equipment (PPE) when handling and disposing of waste to protect yourself and others.

Maintaining a Clean and Safe Dental Clinic Environment

In conclusion, deep cleaning dental clinics is essential for maintaining a clean and safe environment for patients and staff. By following the steps outlined above, dental clinics can prevent the spread of infections, improve air quality, and promote a professional image. It is important to regularly remove clutter, debris, dust, and vacuum surfaces, disinfect high-touch surfaces, clean and sanitise dental equipment, sterilise instruments and tools, clean and disinfect restrooms, clean floors and walls, and practice proper waste disposal. By maintaining a clean and safe dental clinic environment, dental practices can provide optimal care to their patients while ensuring their health and well-being.

Services We Offer